
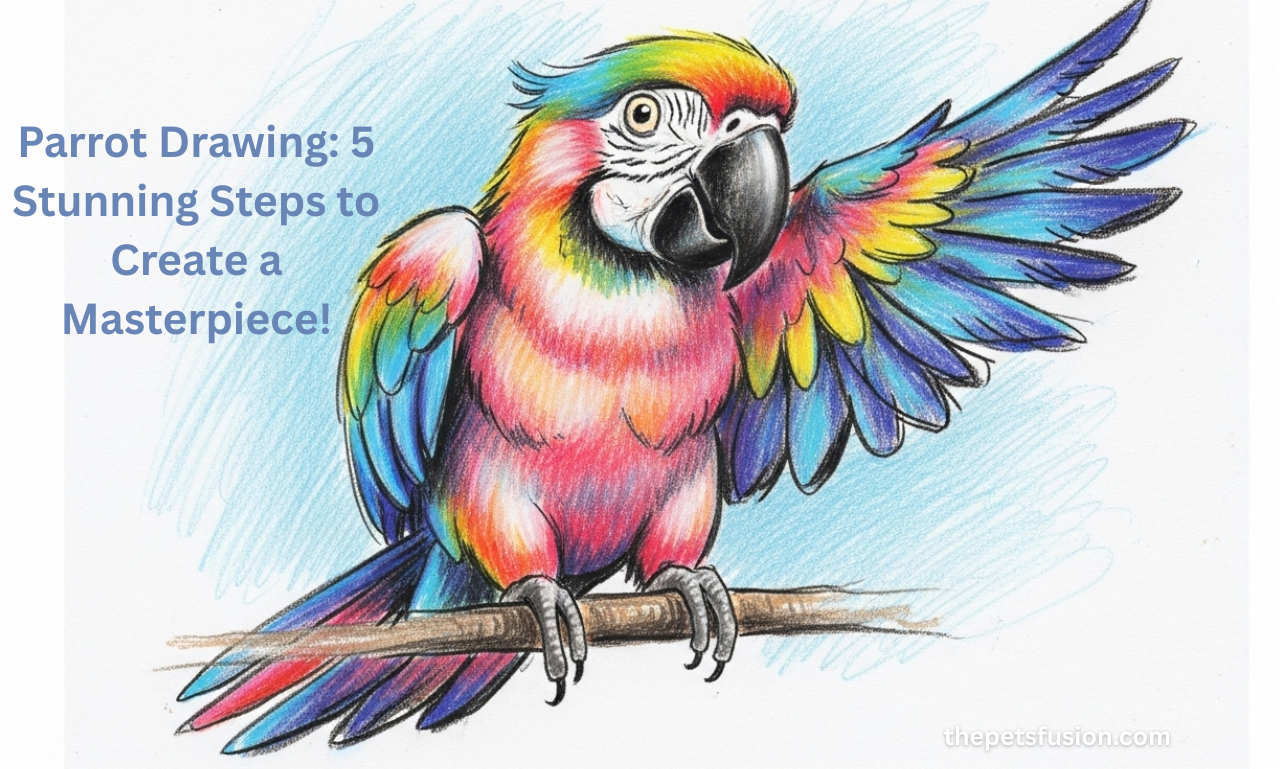
Not many things inspire artists as much as parrots do. Their bright feathers, lively eyes, and fun personalities make them a great source of inspiration for creativity. Whether you’re just starting or you’ve sketched before, this guide will walk you through how to draw parrot step-by-step in a way that feels easy, rewarding, and fun. By the end of this post, you’ll be able to make a lovely parrot drawing that feels like an actual work of art—without requiring to be a professional illustrator. Let’s get started and make a great parrot art piece together.
Materials You’ll Need Before You Start
Before we dive into the steps, here’s a quick list of tools that will make the drawing process smoother:
- Pencil (HB and 2B) – For sketching outlines and shading
- Eraser – For refining your work and correcting mistakes
- Sketchbook or drawing paper
- Fine liners or an ink pen – For outlining your final sketch
- Color pencils or watercolor – To bring your parrot bird drawing to life
- Blending stump or tissue – For subtle shading
- Reference photo – A high-quality parrot for drawing inspiration
Parrot Drawing Made Easy: 5 Simple Steps Anyone Can Follow
Let’s sit down together, grab a pencil and some paper, and draw a parrot step by step. You don’t need to be an artist — follow along and trust the process. Ready? Let’s begin!
Step 1: Start with Simple Shapes (Don’t Worry About Perfection)
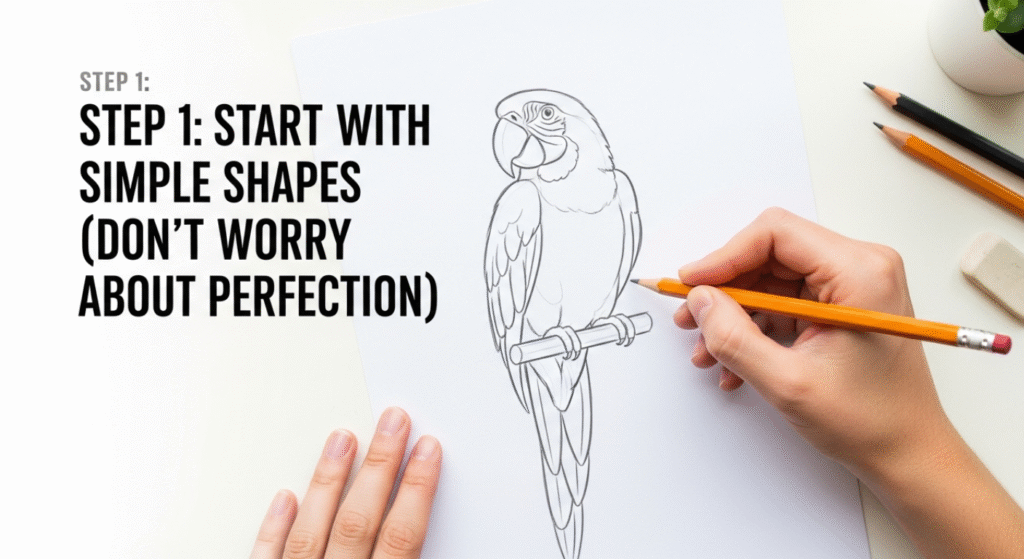
Take a deep breath. We’re not drawing feathers yet — just the basic structure.
- First, lightly draw a circle for the head. Place it near the top of your paper so there’s room for the body and tail.
- Underneath that, draw a long, oval-shaped object tilted slightly to one side. This is the parrot’s body.
- Connect the circle and oval with a gentle curve — that’s the neck.
- Add a small guideline line where you want the beak to face — this helps with direction.
These are your “building blocks.” Keep your lines very light — you’ll erase most of them later. Don’t overthink it. It’s just a sketch!
Step 2: Draw the Beak and Eyes (Where the Personality Lives!)
This is where your parrot starts to feel alive.

- At the front of the head circle, draw a curved triangle shape — this is the top part of the beak.
- Add a smaller curve underneath for the lower part. Parrot beaks are like hooks — strong and curved.
- Now, draw a circle for the eye, just behind the beak. Parrot eyes are often expressive and alert.
- Around the eye, sketch a ring to suggest the featherless skin many parrots have.
Take your time here. Adjust the size until the face feels balanced. You’re doing great!
Step 3: Sketch the Wings and Tail (Add Movement and Grace)
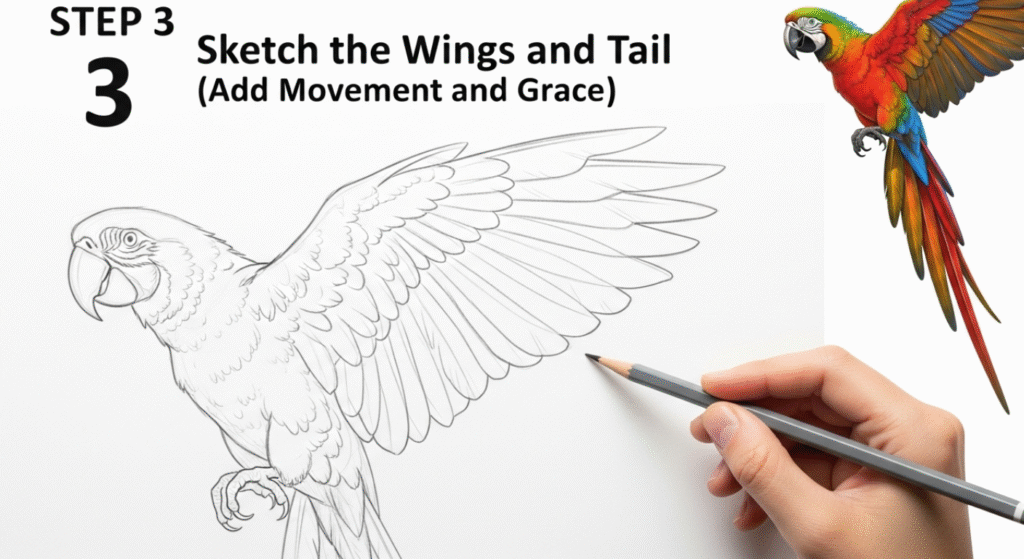
Now let’s give your parrot its most stunning features.
- From the side of the body, draw an oval, draw a long, slightly curved line going downward — that’s the main wing.
- Layer 2–3 feather shapes underneath to show detail. Don’t draw each feather — suggest the flow.
- At the bottom of the body, add long tail feathers. Think of a fan — draw a few lines that narrow to points.
The wings should wrap around the body slightly. Let them follow the curve — parrots have a very natural flow to their feathers.
Step 4: Clean Up the Lines and Add Final Details
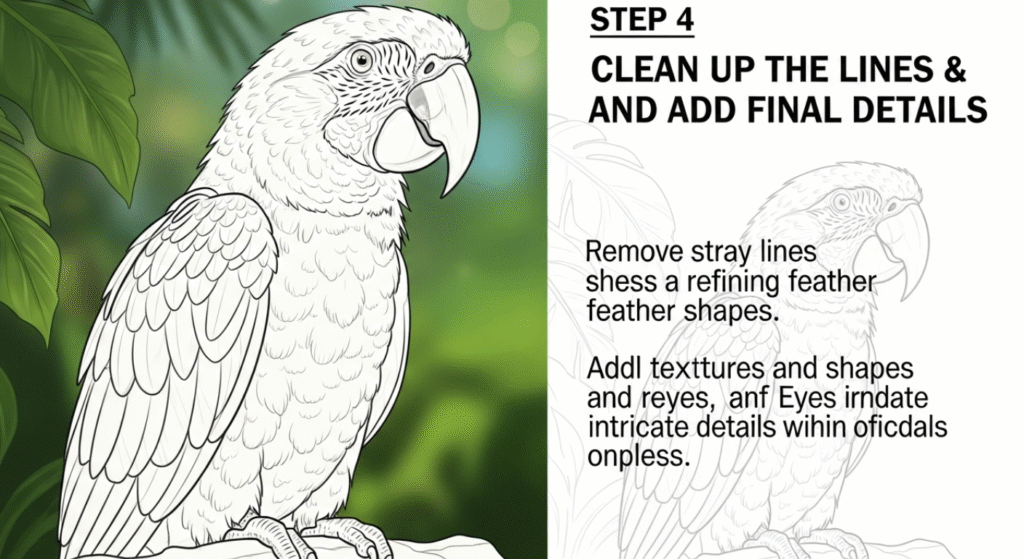
Time to refine your sketch and bring it to life.
- Carefully go over your best lines with a darker pencil or pen.
- Erase all the light structure lines you drew in the beginning.
- Now, add some feather texture with quick, light strokes — especially around the neck and wings.
- Don’t forget to draw the feet gripping a branch (two toes forward, two back — parrots have unique feet!).
This is where you can slow down and let the details shine. Add personality — maybe a slight head tilt or a fluff of feathers!
Step 5: Color Your Parrot (Time to Have Fun!)
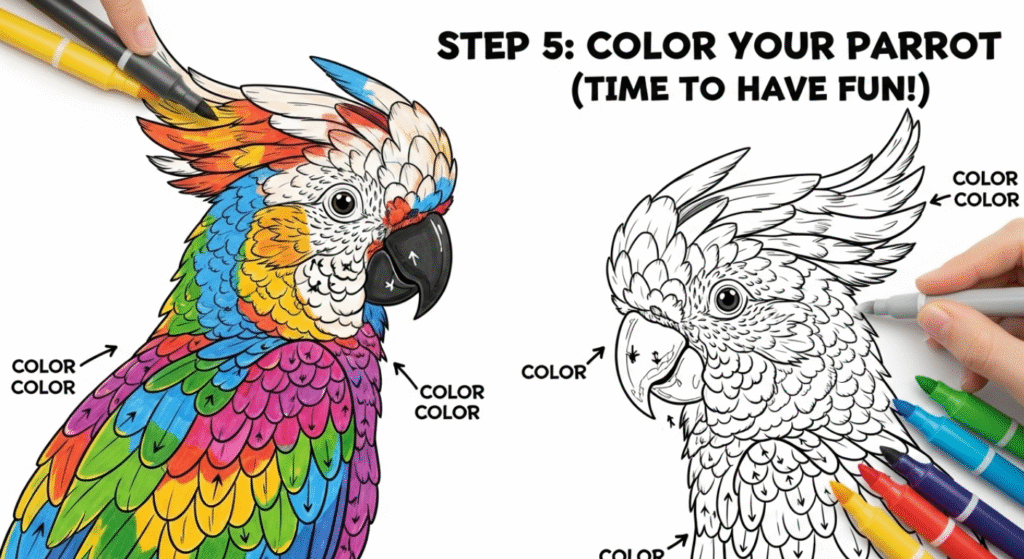
Now comes the most exciting part — color!
- Choose your favorite parrot species for reference (macaw, cockatoo, parakeet).
- Use colored pencils, markers, or watercolor — whatever you like.
- Start with light colors first, then layer in brighter or darker tones.
- Add shadows under wings, around the eye, and beneath the belly for depth.
- Leave small white highlights to make the feathers shine.
Don’t worry about getting it perfectly mixed. Parrots are very colorful by nature, so you can color yours any way you like. If it’s bright and stands out, you’re doing great.
What You Just Did:
You started with a blank page and created a complete parrot drawing— you should be proud. You gave it shape, added parts, improved the details, and made it colorful. And the best thing. You can continue doing this repeatedly, improving each time.
Common Mistakes to Avoid in Parrot Drawing
Drawing parrots can be very fulfilling, but some common mistakes can prevent your art from improving. Let’s examine them closely and help you avoid them from the start.
Flat Shading
One of the biggest beginner mistakes in parrot drawing is flat, lifeless shading. Without contrast or depth, your bird can appear dull or cartoonish—even if the outline is perfect.
- Use layered shading to give feathers a realistic feel.
- Combine light and dark values to show depth.
- Add subtle gradients in the wings and tail.
Tip: Shade in the direction the feathers grow. It makes your drawing feel more natural.
Over-Detailing
It’s easy to fall into the trap of adding too much detail too early. While more information is beneficial, cluttering the drawing can ruin the composition and overwhelm the viewer.
- Avoid drawing every single feather.
- Focus on key areas: the face, wing tips, and tail.
- Use a suggestion instead of a literal representation.
Remember, great art is about balance—leave room for the viewer’s imagination.
Poor Reference Use
Using bad references—or none at all—limits your understanding of the parrot’s anatomy and posture.
- Always study a parrot for drawing photo or video.
- Avoid overly stylized references when aiming for realism.
- Try viewing the bird from multiple angles to gain a better understanding of its form.
Even professional artists use references—don’t skip this step!
Top 5 Inspiring Parrot Artists You Should Follow
Looking to improve your parrot drawing through inspiration? Here are five incredible artists who bring birds to life in different styles.
Instagram/YouTube Artists
- Aaron Blaise – Former Disney animator who teaches animal drawing on YouTube. His parrot sketches are dynamic and educational.
- Shibasaki – A calm and inspiring watercolor artist who often paints birds in a relaxing, beginner-friendly way.
- Milan R. Vuckovic – Known for colorful parrot illustrations that blend realism and fantasy.
- Karen Hull – A Hyperrealistic colored pencil artist whose birds seem to leap off the page.
- The Art Sherpa – A fun, beginner-friendly channel with tutorials on tropical bird painting.
Why Their Work Stands Out
Each of these artists brings something unique:
- Aaron Blaise captures movement and character.
- Shibasaki simplifies beauty through watercolor flow.
- Karen Hull’s realism is textbook-perfect for learning texture and layering.
- Milan Vuckovic adds imaginative flair—great for stylized drawing.
- The Art Sherpa is excellent for beginners, offering easy-to-follow steps with vibrant results.
Studying their process can supercharge your parrot drawing easy approach.
Don’t miss: Easiest Pets to Take Care Of: 5 Overrated Animals That Disappoint
Tips to Make Your Parrot Drawing Stand Out
Even if your drawing is technically correct, these creative techniques can take it from good to unforgettable.
Use of Negative Space
Negative space guides to the area surrounding your subject. Mastering it can dramatically improve your composition.
- Leave blank areas intentionally to let the form breathe.
- Use contrast to make your parrot’s silhouette stand out.
- Helps guide the viewer’s eye to the focal points.
Pro tip: Try inverting your background shade to frame the parrot in a dramatic way.
Background Tips
Don’t ignore the background—it can either elevate or detract from your art.
- Simple backgrounds: Sky gradients, tropical leaves, or tree branches.
- Bold choices: Abstract shapes, graphic elements, or solid colors to make the parrot pop.
- Avoid overloading the background, especially if your parrot is already colorful.
Combining Styles (Line Art + Watercolor)
Mixing media is a great way to make your parrot bird drawing stand out.
- Start with clean line art, then add loose watercolor washes.
- Use ink for the face and feathers, then blend soft colors behind.
- Experiment with opacity—transparent watercolor over pencil creates a dreamy effect.
This hybrid style adds uniqueness and modern flair to your portfolio.
Final Thoughts: Mastering the Art of Parrot Drawing
Creating a beautiful parrot drawing is a journey of patience, observation, and practice. You’ve learned how to build your drawing step-by-step—from basic shapes to detailed feathers and vibrant colors. Don’t worry if your first attempt isn’t perfect. Every sketch you make sharpens your skills and deepens your artistic eye. To be successful, do these three things: draw often, look at real parrots, and learn from your mistakes. As time goes by, you will become more confident and more creative. Whether you’re drawing to have fun, relax, or make your art collection better, enjoy what you’re doing. Every line you draw helps you get better at art. Keep practicing, stay curious, and let your imagination soar—just like the parrot in your drawing.
Frequently Asked Questions (FAQs)
How to draw a parrot step-by-step?
To draw a parrot, begin with a rough sketch using circles and ovals for the body and head. Then add facial features, wings, tail feathers, ink the outline, and apply vibrant colors for a lifelike finish.
How draw parrot if I’m a beginner?
Start with basic shapes and simple forms. Focus on proportions and use light pencil strokes. Follow references and this guide to build your skills gradually.
How to draw the parrot’s feathers realistically?
Study feather flow from authentic bird images. Use layered strokes and vary pressure to create texture. Contrast light and dark areas for depth.
How to draw parrot bird using color pencils?
Start with a clean sketch. Use light strokes to layer color, building tone gradually. Use a colorless blender or a white pencil to soften transitions and make the feathers stand out.